In these days, launching a fully-featured product right away can feel like betting big without knowing all the cards on the table. It’s risky, time-consuming, and costly. What if your product doesn’t resonate with users? What if you’ve spent months (or years) building features that no one finds useful? These are just a few of the reasons why building a Minimum Viable Product (MVP) is so useful
An MVP allows you to take your core product idea, strip away all the non-essential features, and launch it to real users to test the waters. It’s about solving the core problem your product addresses, quickly and efficiently. This early version of your product allows you to gather feedback, validate assumptions, and avoid wasting resources building something users may not want.
In this guide, we’ll look into the MVP process, explaining how you can use it to build software that resonates with users while minimizing risk. We’ll also explore real-world examples, common pitfalls, and strategies to ensure you’re building a product that has real potential for success.
What is an MVP?
A Minimum Viable Product (MVP) is a stripped-down version of a product with just enough features to attract early adopters and validate a product idea. Think of it as your product’s skeleton—it focuses on the most critical aspect of solving a key problem for users without any of the extra fluff. The goal is to test your product’s core value proposition in the market, gather user feedback, and then refine the product based on that feedback.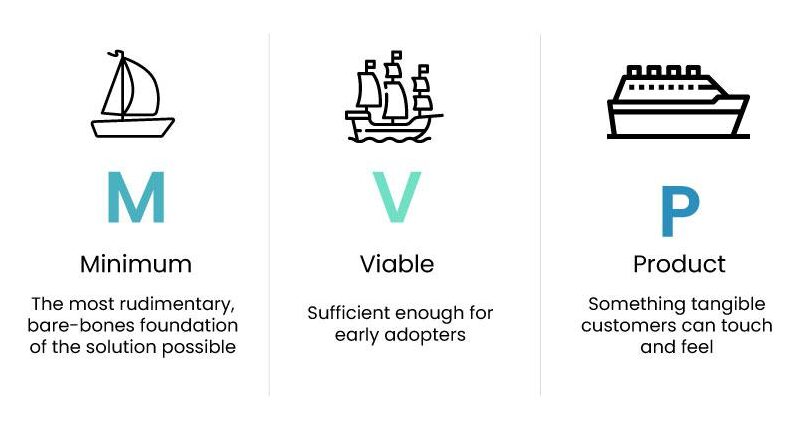
The concept of the MVP comes from lean startup methodology, a strategy that emphasizes creating a product with the least effort and investment while maximizing learning about the target audience and market. MVP development is not about launching a prototype or a low-quality version of your product. It’s about building a product with enough value to be usable, collect user feedback, and iterate quickly.
Why Build an MVP?
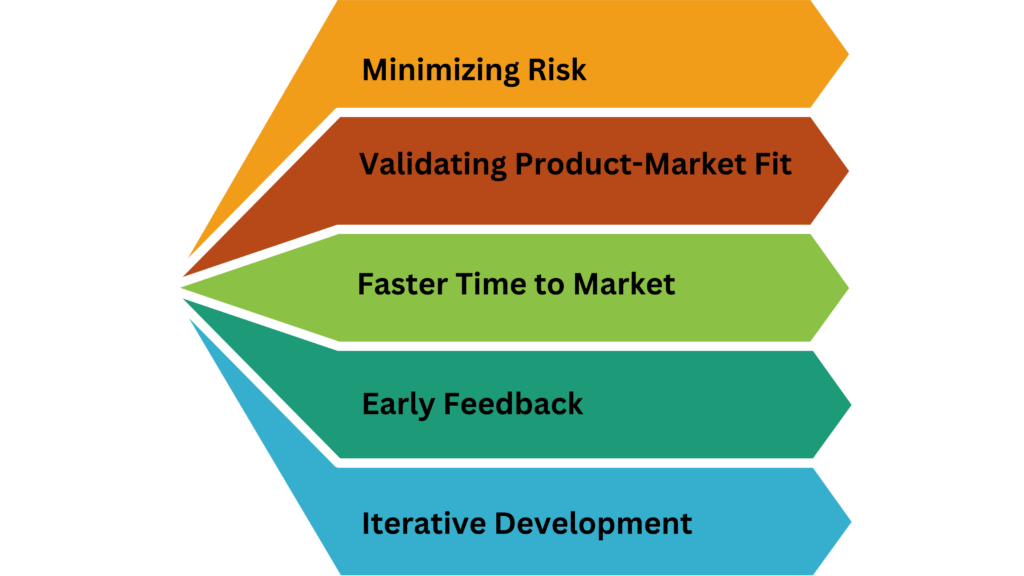
The MVP approach is favored by startups and large enterprises alike because it provides multiple benefits over launching a fully-featured product straight away:
- Minimizing Risk: By focusing only on the essential features, you’re reducing the time and resources needed to launch. If your MVP doesn’t resonate with users, you’ll lose less time and money than you would with a full-scale launch.
- Validating Product-Market Fit: The MVP lets you test whether your product is something people actually need and will use. If your MVP solves a real problem, you’ll know there’s a demand before investing more time and resources into adding additional features.
- Faster Time to Market: Launching an MVP allows you to get your product into the hands of users much faster. This is crucial in competitive markets where being first can give you a major edge.
- Early Feedback: User feedback is vital for creating a successful product. By launching an MVP, you can gather insights from real users and understand what they like, what’s missing, and what needs improvement.
- Iterative Development: An MVP isn’t the final product; it’s just the starting point. After your MVP is launched, you can iterate on it by adding features, making improvements, and tweaking based on feedback, all while ensuring that your product continues to meet user needs.
Step-by-Step Guide to Building an MVP
Step 1: Conduct Thorough Market Research
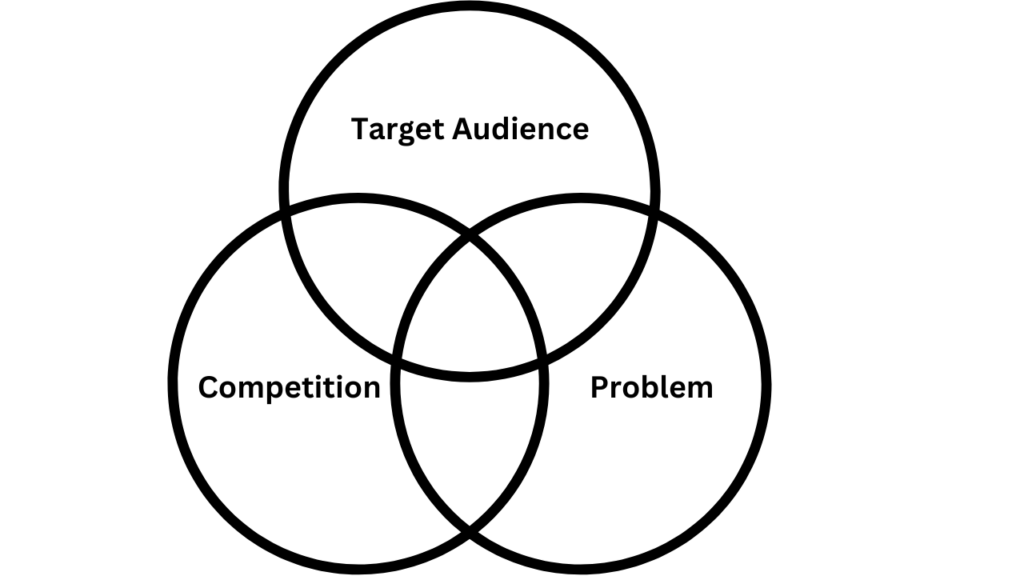
Market research is arguably the most critical step in building a successful MVP. Before you start building anything, you need to ensure there’s a market for your idea. This involves identifying a problem that people care about and are willing to pay for, as well as researching competitors and understanding your target audience.
- Identify the Problem: What problem does your product solve? This is the foundation of your MVP. For example, consider Dropbox, which started as a simple MVP that solved a common problem—people needed a simple way to store files in the cloud and sync them across devices. Dropbox’s MVP was as simple as it could get: a video demo that showcased the core functionality of the product. The video generated enough interest for the team to validate their idea before even developing the full product.

- Study the Competition: Look at other products in the market that solve a similar problem. What are they doing right? Where are the gaps? For instance, when Airbnb first started, there were plenty of online platforms for booking hotels. But Airbnb identified a gap—there wasn’t an easy way for travelers to find affordable, short-term lodging in someone’s home. This insight allowed them to craft an MVP that filled that gap and stood out from competitors. 
- Define Your Target Audience: Knowing who you’re building the product for is crucial. The more specific your audience, the better you can tailor the MVP to meet their needs. Create user personas that represent your ideal customers and use those to guide your development decisions. If you’re creating a fitness app, are you targeting busy professionals who need quick workout routines or fitness enthusiasts looking for advanced tracking features?
By thoroughly understanding your market, competitors, and target audience, you’ll ensure that your MVP is solving a real problem and resonates with potential users.
Step 2: Define Core Features and Prioritize
Once you have a clear understanding of the market and the problem your product solves, it’s time to define the features that will make up your MVP. The key here is to keep it simple. You don’t want to overload your MVP with features that users don’t need at this stage.
- Prioritize Features: Use a prioritization framework like MoSCoW (Must have, Should have, Could have, Won’t have) to determine which features are essential for solving the core problem and delivering value to users. For example, if you’re building a ride-sharing app, the MVP should focus on basic functionality like requesting rides, matching drivers, and calculating fares. Other features like driver ratings, advanced route options, or loyalty programs can come later.
- Define the MVP’s Scope: To avoid scope creep, clearly define what’s in and what’s out for your MVP. Make a list of the core features that need to be included and resist the urge to add more. For instance, when Instagram first launched, its MVP was a photo-sharing app with simple filters. It didn’t have video, direct messaging, or Stories. These features were added later, after the core functionality was proven successful.
- Plan for Scalability: While your MVP should focus on simplicity, you also want to think ahead. Consider how future features and updates will fit into the product’s architecture. Your MVP should be designed in such a way that it can scale and accommodate additional features later on.
By defining and prioritizing core features, you’re ensuring that your MVP focuses on solving the main problem for users without getting bogged down by unnecessary complexity.
Step 3: Create User Flows and Wireframes
Now that you’ve defined the core features, the next step is to map out the user flows and create wireframes for your MVP. User flows help you visualize how users will interact with the product, while wireframes provide a visual blueprint of the product’s layout.
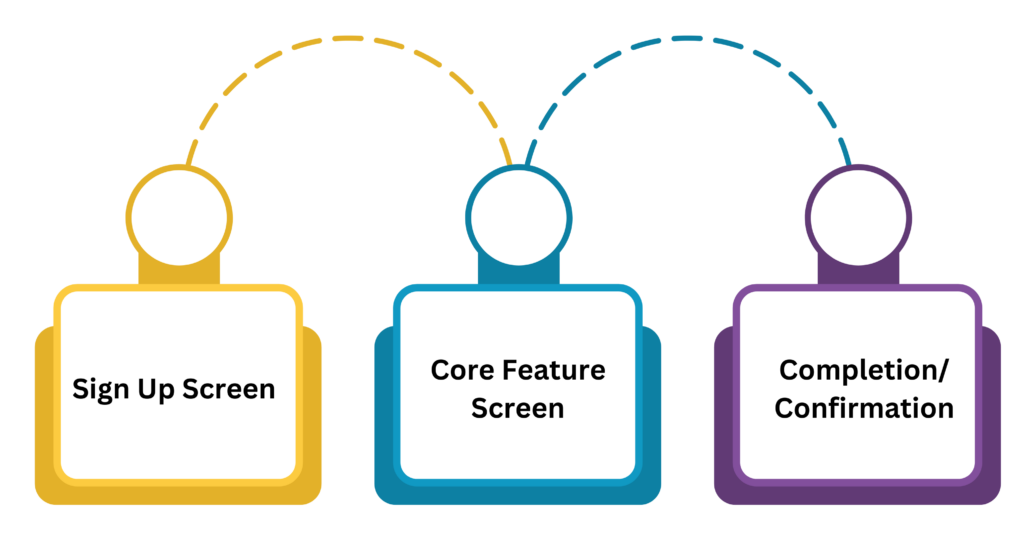
- Map the User Journey: Start by mapping out the user journey from start to finish. This should include all the key interactions a user will have with your MVP, such as signing up, logging in, using the core features, and completing tasks. For example, if you’re building a food delivery app, the user journey might include searching for a restaurant, selecting a dish, placing an order, and tracking the delivery.
- Create Wireframes: Wireframes are low-fidelity sketches that outline the layout and structure of your product’s interface. They don’t need to be fancy, but they should clearly show how each page or screen will look and how users will interact with it. Tools like Figma, Sketch, or Balsamiq can be used to create simple wireframes that illustrate the flow of the MVP.


- Design for Usability: Even though an MVP doesn’t require polished design, it should still be user-friendly. A poor user experience will turn users away, even if the product solves their problem. Ensure that your wireframes account for usability and accessibility, making it easy for users to navigate through the product and complete key actions.
Wireframes help you visualize the product before you start building it, ensuring that everyone on your team is on the same page.
Step 4: Build the MVP Prototype
With wireframes in hand, it’s time to turn your concept into a working prototype. This is where your MVP starts to come to life, allowing you to test the core features and gather feedback from users.
- Choose the Right Tech Stack: Your tech stack will depend on the type of product you’re building. For web-based MVPs, you might use technologies like React, Node.js, and MongoDB. For mobile apps, you might use Flutter or React Native to quickly build cross-platform apps. Choose a tech stack that allows for rapid development and scalability.

- Focus on Core Features: Stick to the essential features you outlined earlier. The goal is to build a functional MVP, not a polished final product. For example, if you’re building a SaaS product for project management, focus on the core functionalities like creating tasks, assigning team members, and setting deadlines. Features like integrations with third-party tools can be added later.
- Use Agile Development: Adopt an Agile approach to MVP development, breaking down the process into short sprints with frequent check-ins and adjustments. This ensures that the MVP is developed iteratively, with continuous testing and improvement throughout the process.
- Launch a Usable Prototype: The MVP prototype should be a fully functional, but minimal, version of the product. It should solve the primary problem and allow users to complete the key tasks without too many extra bells and whistles.
By focusing on core features and using a scalable tech stack, you’ll be able to build an MVP that is both functional and ready for user testing.
Step 5: Test and Gather Feedback
Once your MVP is built, the real work begins. It’s time to test the MVP with real users and gather feedback. This stage is crucial for identifying areas of improvement and making data-driven decisions for future development.
- Launch to a Small Group: Start by launching the MVP to a small group of early adopters. These users should match the target audience defined in your market research. For example, Slack initially launched their MVP to just a few companies to test whether the product would solve their communication problems. Once they received positive feedback, they rolled out the product to a wider audience.
- Gather User Feedback: Use surveys, interviews, and analytics tools to gather feedback on the MVP. Ask users what they like, what they don’t like, and what features they wish the product had. Tools like Google Analytics, Hotjar, or Mixpanel can provide insights into user behavior and engagement.


- Track Key Metrics: Identify and track key metrics that align with your product’s goals. For example, if you’re building a subscription-based SaaS product, you might track metrics like conversion rate, retention rate, and churn rate. If you’re building a mobile app, you might track downloads, active users, and in-app purchases.
- Iterate Based on Feedback: Use the feedback you gather to make data-driven decisions about the next steps for your product. This could involve tweaking existing features, adding new ones, or even pivoting the product if the feedback suggests it’s not solving the right problem. For instance, Twitter (originally called Odeo) started as a platform for sharing and discovering podcasts but pivoted to a microblogging platform after gathering feedback from users.
Testing and feedback are key to refining your MVP and ensuring that you’re building something that users truly want.
Step 6: Scale and Evolve the Product
Once you’ve validated your product with an MVP and gathered enough feedback, it’s time to start scaling and evolving the product. This is where you take the insights you’ve gained from users and start building out additional features, improving usability, and expanding your user base.
- Refine the User Experience: Based on feedback, improve the user interface and user experience of your product. This could involve redesigning certain elements, adding more polish to the UI, or simplifying the user flow. For example, Facebook started as a simple social network for Harvard students, but over time they refined the user experience and added new features like the News Feed, Groups, and Pages to cater to a larger audience.
- Add New Features: Once you’ve validated the core functionality of your MVP, you can start adding new features based on user feedback. Prioritize the features that provide the most value to users and align with your product’s long-term goals. For example, after validating the core functionality of Uber’s MVP (requesting rides), they added features like fare splitting, scheduling rides, and UberPool.
- Scale the Infrastructure: As your user base grows, you’ll need to ensure that your product’s infrastructure can handle the increased load. This might involve moving to a more scalable cloud infrastructure, optimizing the backend, or improving database performance. Netflix, for example, scaled its infrastructure to support millions of users streaming video content simultaneously. 

- Expand Marketing Efforts: Once your product has proven its value, it’s time to expand your marketing efforts to attract more users. This might involve investing in paid advertising, SEO, content marketing, and partnerships to increase brand awareness and drive user acquisition.
Scaling a product is a gradual process that involves continuously iterating, improving, and expanding based on user feedback and market demand.
Real-World Examples of Successful MVPs
- Dropbox: Dropbox’s MVP was a simple video that explained the product’s core functionality. The video generated a significant amount of interest and allowed the team to validate their idea before even building the product. Today, Dropbox has over 700 million registered users. 
- Airbnb: Airbnb’s MVP was a simple website that allowed users to book short-term lodging in someone’s home. The founders used the MVP to test whether people would be willing to stay in strangers’ homes and quickly validated their idea. Today, Airbnb is a global platform with millions of listings worldwide.
- Buffer: Buffer, a social media scheduling tool, started as a simple landing page that explained the product and allowed users to sign up for updates. When users expressed interest, the team quickly built an MVP to test the idea. Today, Buffer is a popular tool used by millions of social media managers. 

Common Pitfalls to Avoid When Building an MVP
- Overloading the MVP with Features: One of the most common mistakes is trying to include too many features in the MVP. Remember, the MVP should focus on solving the core problem and nothing else. Adding too many features can dilute the product’s value and increase development time.
- Ignoring User Feedback: The whole point of building an MVP is to gather feedback and iterate based on that feedback. Ignoring user feedback can lead to a product that doesn’t resonate with users.
- Launching Too Late: Some teams spend too much time perfecting the MVP before launching. The goal is to get the product in front of users as quickly as possible to start gathering feedback.
- Focusing on the Wrong Metrics: Tracking the wrong metrics can lead to poor decision-making. Make sure you’re tracking metrics that align with your product’s goals and objectives.
- Failure to Pivot: Sometimes, user feedback will indicate that your product isn’t solving the right problem. In these cases, it’s important to be open to pivoting and adjusting your product based on feedback.
Conclusion
Building a Minimum Viable Product (MVP) is a powerful strategy for testing product ideas, minimizing risk, and iterating quickly. By focusing on solving the core problem for users and gathering feedback early on, you can ensure that your product resonates with the market and has a higher chance of success. Whether you’re a startup founder or an established business looking to launch a new product, the MVP approach provides a clear, data-driven path to product validation and market fit.
As we’ve seen from the examples of Dropbox, Airbnb, and Buffer, some of the most successful products in the world started as simple MVPs. By following the steps outlined in this guide, you can build an MVP that lays the foundation for a successful product and sets you up for long-term growth.